Complete Guide: Migrate .NET Website from DigitalOcean to AWS Lightsail
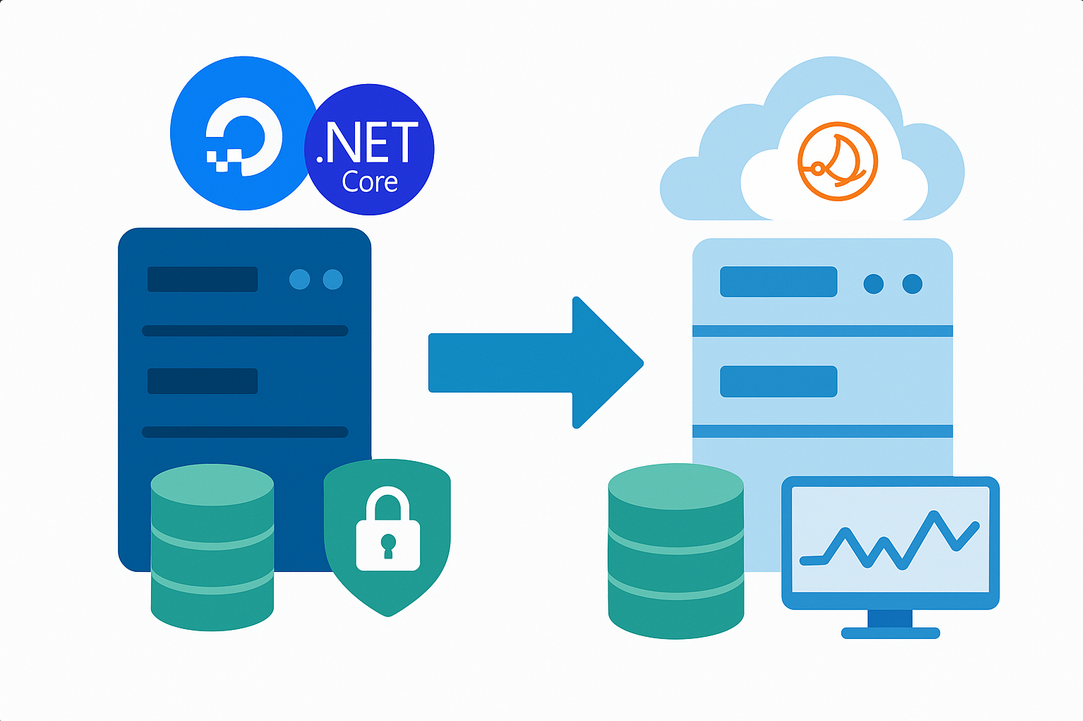
Migrating a .NET application from DigitalOcean to AWS Lightsail can significantly improve your application’s performance, reduce costs, and provide better integration with AWS services. This comprehensive guide walks you through the complete migration process, from transferring files to configuring SSL certificates. Why Choose AWS Lightsail? AWS Lightsail offers predictable pricing, easy scaling options, and seamless integration with other AWS services, making it an ideal choice for hosting .NET applications. This tutorial is designed for developers and system administrators who need to migrate existing .NET Core applications with SQL Server databases from DigitalOcean droplets to AWS Lightsail instances. Before starting the migration process, ensure you have: Security Note: Avoid using the root user for production deployments. Consider creating a dedicated user account for your application. The first step involves creating a compressed archive of your project files and transferring them to your new Lightsail instance. On your DigitalOcean droplet, navigate to your project directory and create a compressed archive: This command creates a gzip-compressed tar file containing all your project files. Use rsync to securely transfer the archive to your Lightsail instance: Replace Once the files are transferred, extract the archive on your Lightsail instance: Next, examine your Pro Tip: Always backup your configuration files before making changes. Keep a copy of your original appsettings.json for reference. Your .NET application requires SQL Server. Let’s install and configure it on your Lightsail Ubuntu instance. Run the setup command and set a strong password for the SA user: Security Warning: Use a strong password for your SA user. The example password “Z8pS7r@q33” should be replaced with a more secure one in production. Add the tools to your PATH: Test your SQL Server installation: Install .NET Core SDK 3.1.100 (or your required version): Verify the installation: Navigate to your project directory and restore dependencies: Navigate to your Entity Framework project directory: Build and publish your application for production: Pro Tip: Publishing directly to Install Nginx and configure it as a reverse proxy for your .NET application: Edit the default Nginx configuration file: Replace the contents with: Test and restart Nginx: Create a systemd service to manage your .NET application: Add the following configuration: Monitoring Tip: Use If your application contains existing data, you’ll need to migrate your database from the old server. On your DigitalOcean server, create a database backup: The backup file is typically created in Create a tar archive and transfer it: Extract and restore the database on your Lightsail instance: Don’t forget to copy static files (images, uploads, etc.) if your application doesn’t show them correctly after migration. Secure your application with SSL certificates using Certbot: Obtain and install SSL certificates: Follow the interactive prompts to configure SSL for your domain. Pro Tip: Certbot automatically configures certificate renewal. Verify with Adding swap memory helps prevent out-of-memory issues during high traffic: Verify swap is active: Common Error: If you see “bind: address already in use” errors, another process might be using port 5000. Use Successfully migrating your .NET application from DigitalOcean to AWS Lightsail provides several key benefits: Your .NET application is now running on a more robust and cost-effective platform. Monitor your application’s performance using AWS CloudWatch and consider implementing automated backups for your database and application files. Regular monitoring will help you identify potential issues before they affect your users. Yes, but you’ll need to modify your Entity Framework configuration and connection strings. Install MySQL Server instead and update your When you outgrow Lightsail, you can migrate to AWS EC2 with Auto Scaling Groups, use AWS Elastic Beanstalk for managed .NET hosting, or containerize your application with AWS ECS or EKS. Lightsail provides an excellent stepping stone to these more advanced AWS services. Always keep your original DigitalOcean droplet running until you’ve fully tested the migrated application. Create snapshots of your Lightsail instance at key milestones during migration. This allows you to rollback to a previous state if issues arise. AWS Lightsail pricing is competitive with DigitalOcean, starting at $3.50/month for basic instances. The main advantage is predictable pricing and easy integration with other AWS services as your application grows. Consider the bandwidth allowances and compute requirements when comparing plans. Yes, you’ll need to update your domain’s DNS A record to point to your new Lightsail instance’s static IP address. Consider setting a lower TTL before migration to speed up DNS propagation. AWS Route 53 can be used for more advanced DNS management if needed. Use Lightsail snapshots for full server backups, and implement automated SQL Server database backups using SQL Agent jobs or cron jobs. Store database backups in AWS S3 for additional redundancy and cost-effective long-term storage. Transform Your Business With Cloud Excellence ⚡ Schedule a session with our experts to discuss your cloud solutions.Introduction
Prerequisites
Step 1: Copying Project Files from DigitalOcean to AWS Lightsail
Creating a Tar Archive
tar -czvf myfiles.tar.gz myfilesTransferring Files to Lightsail
rsync -avz -e "ssh -i key.pem" myfiles.tar.gz [email protected]:~key.pem with your actual SSH key file and 13.215.163.90 with your Lightsail instance’s IP address.Step 2: Extracting Files and Preparing Environment
tar -xf myfiles.tar.gzappsettings.json file located in src/Simple.WebCommerce/ to understand the database configuration requirements.Step 3: Installing and Configuring SQL Server on Ubuntu
Adding Microsoft Repository
wget -qO- https://packages.microsoft.com/keys/microsoft.asc | sudo apt-key add -

sudo add-apt-repository "$(wget -qO- https://packages.microsoft.com/config/ubuntu/18.04/mssql-server-2019.list)"
Installing SQL Server
sudo apt update
sudo apt install mssql-server
Configuring SQL Server
sudo /opt/mssql/bin/mssql-conf setupInstalling SQL Server Tools
curl https://packages.microsoft.com/keys/microsoft.asc | sudo apt-key add -

curl https://packages.microsoft.com/config/ubuntu/20.04/prod.list | sudo tee /etc/apt/sources.list.d/mssql-release.list

sudo apt update
sudo apt install -y mssql-toolsecho 'export PATH="$PATH:/opt/mssql-tools/bin"' >> ~/.bashrc
source ~/.bashrcTesting SQL Server Connection
sqlcmd -S localhost -U SA -P 'YourStrongPassword'Step 4: Setting up .NET Core SDK and Entity Framework Tools

wget https://packages.microsoft.com/config/ubuntu/20.04/packages-microsoft-prod.deb -O packages-microsoft-prod.deb

sudo dpkg -i packages-microsoft-prod.deb
rm packages-microsoft-prod.deb

sudo apt update
sudo apt install -y dotnet-sdk-3.1
Installing Entity Framework Tools
dotnet tool install --global dotnet-ef --version 3.1.0dotnet-ef --versionStep 5: Building and Publishing the .NET Project
cd /path/to/your/project
dotnet restore
dotnet build
Running Database Migrations
cd src/Simple.WebCommerce
dotnet ef migrations add initialSchema
dotnet ef migrations script -o dbscript.sql
Publishing the Application
# Build in Release mode
dotnet build -c Release

# Navigate to web host project
cd src/SimplCommerce.WebHost
dotnet build -c Release
dotnet publish -c Release -o /var/www/publishdirectory/var/www/publishdirectory makes it easier to configure your systemd service later.Step 6: Configuring Nginx Reverse Proxy
sudo apt update
sudo apt install nginx
Creating Nginx Configuration
sudo nano /etc/nginx/sites-available/defaultserver {
listen 80;
server_name your-domain.com;
location / {
proxy_pass http://localhost:5000;
proxy_http_version 1.1;
proxy_set_header Upgrade $http_upgrade;
proxy_set_header Connection keep-alive;
proxy_set_header Host $host;
proxy_cache_bypass $http_upgrade;
proxy_set_header X-Forwarded-For $proxy_add_x_forwarded_for;
proxy_set_header X-Forwarded-Proto $scheme;
}
location ~ /\.git {
deny all;
return 403;
}
}sudo nginx -t
sudo systemctl restart nginxStep 7: Creating and Managing Systemd Service for .NET App
sudo nano /etc/systemd/system/web.service[Unit]
Description=Simple Commerce Web Application
After=network.target
[Service]
WorkingDirectory=/var/www/publishdirectory/
ExecStart=/usr/bin/dotnet /var/www/publishdirectory/SimplCommerce.WebHost.dll
Restart=always
RestartSec=10
SyslogIdentifier=SimplCommerce
User=root
Environment=ASPNETCORE_ENVIRONMENT=Production
Environment=DOTNET_PRINT_TELEMETRY_MESSAGE=false
[Install]
WantedBy=multi-user.targetEnabling and Starting the Service
sudo systemctl enable web.service
sudo systemctl start web.service
sudo systemctl status web.servicesudo journalctl -u web.service -f to monitor real-time logs from your service.Step 8: Migrating and Restoring SQL Server Database
Creating Database Backup on Source Server
sqlcmd -S 127.0.0.1 -U sa -P "YourPassword" -Q "BACKUP DATABASE your_database_name TO DISK = N'your_database_name.bak'"/var/opt/mssql/data/.Transferring Database Backup
cd /var/opt/mssql/data/
tar -czvf database-backup.tar.gz your_database_name.bak
rsync -avz -e "ssh -i key.pem" database-backup.tar.gz root@your-lightsail-ip:~
Restoring Database on Lightsail
tar -xzf database-backup.tar.gz
sqlcmd -S 127.0.0.1 -U sa -P "YourPassword" -Q "RESTORE DATABASE your_database_name FROM DISK = 'your_database_name.bak' WITH REPLACE"
Copying Static Files
Step 9: SSL Configuration with Let’s Encrypt Certbot
sudo apt-get install certbot python3-certbot-nginxsudo certbot --nginxsudo certbot renew --dry-run.Step 10: Adding Swap Memory for Performance Optimization
sudo fallocate -l 2G /swapfile && \
sudo chmod 600 /swapfile && \
sudo mkswap /swapfile && \
sudo swapon /swapfile && \
echo '/swapfile swap swap defaults 0 0' | sudo tee -a /etc/fstabsudo swapon --show
free -hCommon Issues and Troubleshooting
Issue
Solution
Application won’t start
Check service logs with
journalctl -u web.service
Database connection failed
Verify connection string in appsettings.json
SSL certificate issues
Ensure domain DNS points to Lightsail IP
High memory usage
Add swap memory or upgrade Lightsail plan
Useful Debugging Commands
sudo systemctl status web.servicesudo journalctl -u web.service -fsudo nginx -tsudo netstat -tlnp | grep :5000htop or topdf -hsudo lsof -i :5000 to identify the process.Conclusion
Frequently Asked Questions
Can I use MySQL instead of SQL Server?
appsettings.json with MySQL connection strings. You may also need to adjust some SQL Server-specific code in your application and update your Entity Framework provider to MySQL.How do I scale beyond Lightsail?
What if my migration fails midway?
How much does AWS Lightsail cost compared to DigitalOcean?
Do I need to change DNS settings?
How do I backup my Lightsail application?


