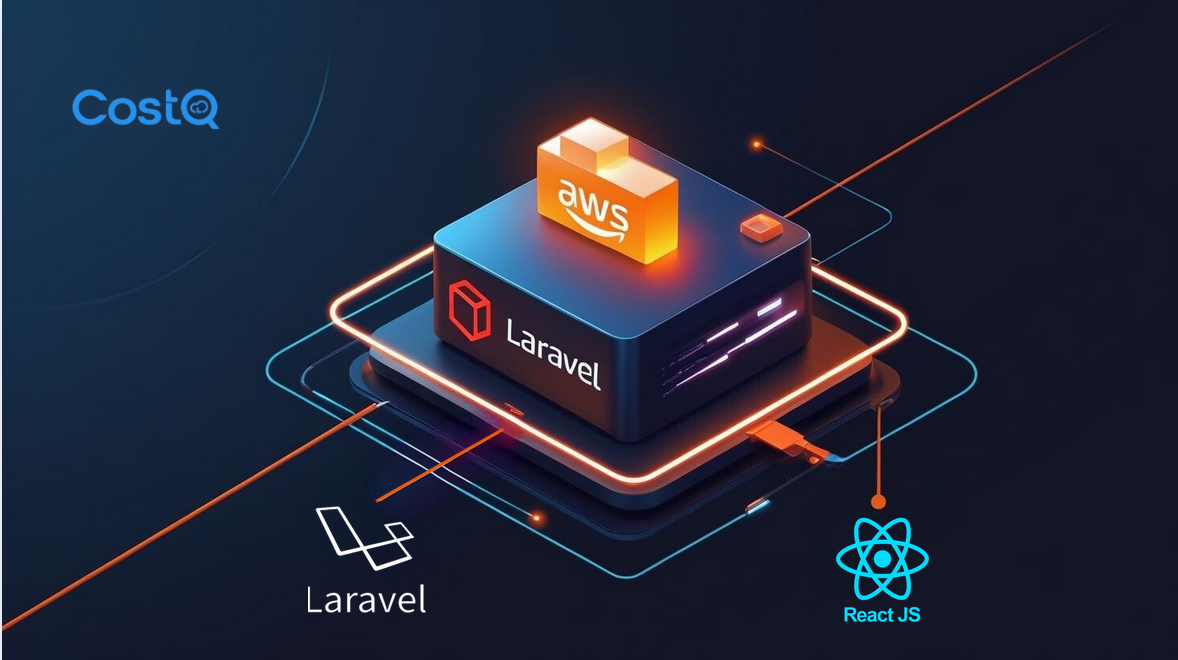
Complete Guide 101 : Deploying Laravel + React Applications on AWS Lightsail
Deploying full-stack applications can be complex, but AWS Lightsail offers a simplified cloud hosting solution that’s perfect for Laravel applications with React frontends. This comprehensive guide will walk you through setting up a production-ready environment, from server configuration to application deployment. What you’ll learn: Why AWS Lightsail? It provides predictable pricing, easy scaling, and pre-configured instances that eliminate much of the complexity of traditional AWS services. Before starting, ensure you have: 💡 Pro Tip: Start with a smaller instance and scale up as needed. Lightsail makes this process seamless. Once your instance is running: Expected output: You should see PHP 8.2.x version information. Verification: Visit your Lightsail instance’s public IP in a browser. You should see the default Nginx welcome page. Configure Nginx for PHP Processing: Replace the contents with this optimized configuration: Verification: Refresh your browser – you should now see PHP configuration information. In the MySQL prompt, secure your installation: Security Note: Always use strong passwords and consider creating application-specific database users instead of using root. Update your Memory Management: If your Lightsail instance has limited RAM, the Node.js build process might fail. The Update the root directory in your Nginx configuration: Congratulations! You’ve successfully deployed your Laravel + React application on AWS Lightsail. Your setup includes: Essential Security Enhancements: Performance Optimizations: Maintenance Automation: Memory Issues During Build: Permission Errors: Official Documentation: Advanced Topics: Community Support: Transform Your Business With Cloud Excellence ? Schedule a session with our experts to discuss your cloud solutions. Introduction
Prerequisites
Required Access & Accounts:
Technical Requirements:
Project Specifications:
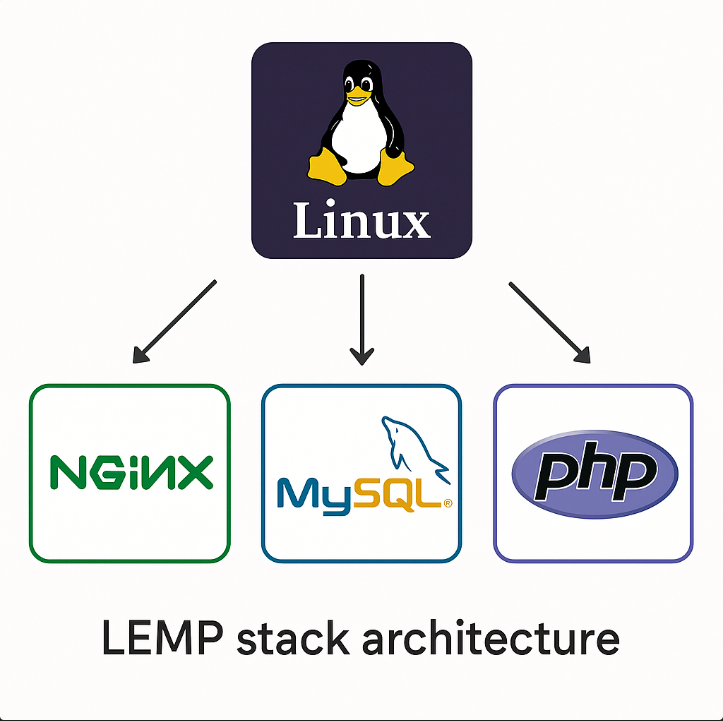
Step 1: Setting Up AWS Lightsail Instance
Create Your Lightsail Instance
Initial Server Access
# Connect via Lightsail browser terminal or SSH
# Note your instance's public IP address for later use
Step 2: Server Environment Setup
Update System Packages
# Update package lists and upgrade system
sudo apt update && sudo apt upgrade -y
Install PHP 8.2 with Required Extensions
# Add PHP repository for latest versions
sudo add-apt-repository ppa:ondrej/php -y
sudo apt update

# Install PHP 8.2 and essential extensions
sudo apt install -y php8.2 php8.2-fpm php8.2-mysql php8.2-bcmath \
    php8.2-zip php8.2-gd php8.2-curl php8.2-intl php8.2-mbstring \
    php8.2-xml php8.2-cli

# Verify PHP installation
php -vInstall and Configure Nginx
# Install Nginx web server
sudo apt install nginx -y

# Verify installation
nginx -v

# Start and enable Nginx
sudo systemctl start nginx
sudo systemctl enable nginxTest PHP-Nginx Integration
# Remove default index and create PHP test file
sudo rm /var/www/html/index.nginx-debian.html
echo "<?php phpinfo(); ?>" | sudo tee /var/www/html/index.php# Edit the default Nginx configuration
sudo nano /etc/nginx/sites-available/defaultserver {
listen 80;
server_name your-domain.com; # Replace with your domain or use _ for IP access
root /var/www/html;
index index.php index.html index.htm;
# Laravel-specific URL rewriting
location / {
try_files $uri $uri/ /index.php?$query_string;
}
# PHP processing
location ~ \.php$ {
include snippets/fastcgi-php.conf;
fastcgi_pass unix:/var/run/php/php8.2-fpm.sock;
fastcgi_param SCRIPT_FILENAME $document_root$fastcgi_script_name;
include fastcgi_params;
}
# Security: Block access to sensitive files
location ~ /\.ht {
deny all;
}
location ~ /\.env {
deny all;
}
}# Test configuration and restart Nginx
sudo nginx -t
sudo systemctl restart nginxStep 3: Database Setup
Install MySQL Server
# Install MySQL and PHP MySQL extension
sudo apt install mysql-server -y

# Start and enable MySQL
sudo systemctl start mysql
sudo systemctl enable mysql
Secure MySQL Installation
# Access MySQL as root (initially no password)
sudo mysql -u root -p-- Set root password (replace with a strong password)
ALTER USER 'root'@'localhost' IDENTIFIED WITH mysql_native_password BY 'your_secure_password_here';
FLUSH PRIVILEGES;
-- Create application database
CREATE DATABASE your_app_database;
-- Optional: Create dedicated application user
CREATE USER 'app_user'@'localhost' IDENTIFIED BY 'another_secure_password';
GRANT ALL PRIVILEGES ON your_app_database.* TO 'app_user'@'localhost';
FLUSH PRIVILEGES;
-- Exit MySQL
EXIT;Step 4: Development Tools Installation
Install Composer (PHP Dependency Manager)
# Install Composer globally
sudo apt install composer -y

# Verify installation
composer --version
Install Node.js and npm (For React Building)
# Install Node.js and npm
sudo apt install nodejs npm -y

# Verify installations
node --version
npm --version
Step 5: Application Deployment
Clone Your Project
# Navigate to temporary directory
cd /tmp

# Clone your repository (replace with your actual repository URL)
git clone https://github.com/yourusername/your-laravel-react-app.git
cd your-laravel-react-app
Configure Environment
# Copy and configure environment file
cp .env.example .env
nano .env.env file with the following essential configurations:APP_NAME="Your Application Name"
APP_ENV=production
APP_KEY= # Will be generated in next step
APP_DEBUG=false
APP_URL=http://your-domain.com
DB_CONNECTION=mysql
DB_HOST=127.0.0.1
DB_PORT=3306
DB_DATABASE=your_app_database
DB_USERNAME=app_user # or root
DB_PASSWORD=your_database_password
# Add other necessary configurations...Install Dependencies and Build Assets
# Install PHP dependencies
composer install --no-dev --optimize-autoloader

# Install Node.js dependencies
npm install

# Build production assets
npm run build

# If you encounter memory issues during build:
NODE_OPTIONS=--max_old_space_size=4096 npm run buildNODE_OPTIONS flag increases available memory for the build process.Deploying Laravel
# Generate application encryption key
php artisan key:generate

# Install Laravel Reverb (if using real-time features)
php artisan reverb:install

# Run database migrations and seeders
php artisan migrate --force
php artisan db:seed --force

# If using Laravel modules:
php artisan module:migrate --all
php artisan module:seed --all

# Create symbolic link for file storage
php artisan storage:link

# Clear and cache configurations for production
php artisan config:cache
php artisan route:cache
php artisan view:cache
Step 6: Production Deployment
Move Application to Web Directory
# Move application to web root
sudo cp -r /tmp/your-laravel-react-app /var/www/
sudo mv /var/www/your-laravel-react-app /var/www/your-app

# Set proper ownership and permissions
sudo chown -R www-data:www-data /var/www/your-app
sudo chmod -R 755 /var/www/your-app
sudo chmod -R 775 /var/www/your-app/storage /var/www/your-app/bootstrap/cache
Update Nginx Configuration
# Edit Nginx configuration for your application
sudo nano /etc/nginx/sites-available/defaultserver {
listen 80;
server_name your-domain.com;
root /var/www/your-app/public; # Point to Laravel's public directory
index index.php index.html index.htm;
# ... rest of configuration remains the same
}Final Server Configuration
# Test Nginx configuration
sudo nginx -t

# Restart services
sudo systemctl restart nginx
sudo systemctl restart php8.2-fpm

# Enable services to start on boot
sudo systemctl enable nginx
sudo systemctl enable php8.2-fpm
sudo systemctl enable mysql
Step 7: Verification and Testing
Basic Functionality Tests
# Test database connection
cd /var/www/your-app
php artisan tinker
# In tinker: DB::connection()->getPdo();
storage/logs/Performance and Security Checks
# Check running services
sudo systemctl status nginx
sudo systemctl status php8.2-fpm
sudo systemctl status mysql

# Monitor server resources
htop  # Install with: sudo apt install htop

# Check error logs
sudo tail -f /var/log/nginx/error.log
sudo tail -f /var/www/your-app/storage/logs/laravel.log
Summary and Next Steps
Recommended Next Steps
Troubleshooting Common Issues while deploying laravel
# Increase swap space temporarily
sudo fallocate -l 2G /swapfile
sudo chmod 600 /swapfile
sudo mkswap /swapfile
sudo swapon /swapfile# Reset Laravel permissions
sudo chown -R www-data:www-data /var/www/your-app
sudo find /var/www/your-app -type f -exec chmod 644 {} \;
sudo find /var/www/your-app -type d -exec chmod 755 {} \;
sudo chmod -R 775 /var/www/your-app/storage /var/www/your-app/bootstrap/cacheAdditional Resources