Manage DNS using Cloudflare
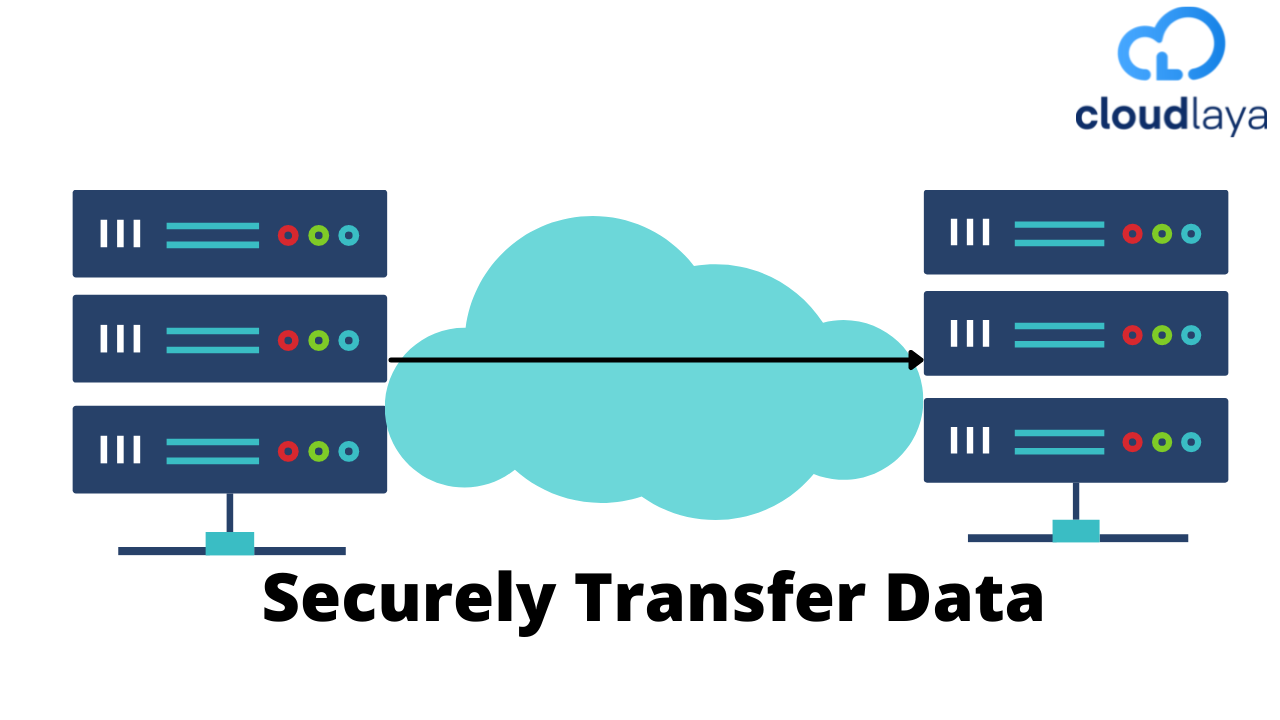
DNS is the process of translating domain names into IP addresses. Generally, when you are not using shared hosting, you will need to host your site with some service provider to point your domain to the IP address of your virtual private server. Usually, You can manage your domain and its DNS from your domain registrar, but in this blog, we are going to discuss how you can manage DNS using Cloudflare.
Cloudflare is a free CDN service that helps you protect, optimize and manage your server and domains. Cloudflare also improves site performance and speeds up loading times by using its multiple data centers that are located around the world. In this blog, we are going to discuss how you can use Cloudflare to manage your domain and its DNS records.
How to Manage DNS using Cloudflare
Before starting you will be required to create a Cloudflare account if you haven’t already. At first, we are going to talk about how you can add your domain to your Cloudflare account.
1. Log in to your Cloudflare account, after logging in click on add a site button.

2. Then when you enter your domain name, you will be asked to choose the package for the domain, generally, if you are using Cloudflare to just manage your domain then choose the free package.
3. Then Cloudflare will import your existing (if any) DNS record. Click on continue.
4. On the next step, you will be given nameservers of Cloudflare which you are required to use as the nameserver of your domain so that you will be able to use Cloudflare to manage your domain and its DNS.
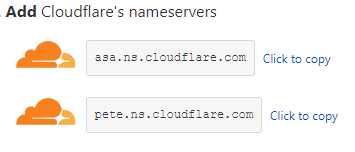
5. When you update your domain’s nameserver when it fully propagates( it might take some time), you will be able to manage your domain from Cloudflare.
When you manage your domain/site from Cloudflare, you will be provided different options/features to manage/optimize your domain to make it more secure, faster, and accessible.

To manage the DNS of your domain click on the DNS tab. To add an “A” record to point your domain to the server’s IP address click on the +Add record button and add your DNS record.

Click on A record on record type and put @ in your name tab, @ is the default name for your domain name, put your server’s IP address in the IPv4 address tab. If you want to hide your servers’ IP address the keep the proxy status to proxied or change it into DNS only if wish to display your IP address. Similarly, you can use Cloudflare to add more DNS records like TXT records, MX records, CNAME records, etc.
Now you know how you can Manage DNS using Cloudflare. If you have purchased a domain from Cloudlaya then you can also manage your domain from Cloudlaya’s portal, you can also avoid all these processes from Cloudflare by using Cloudlaya’s service.
Please visit our website or contact us at [email protected], [email protected] for more information on how Manage DNS using Cloudflare as per your business need.