How to add DNS Zone in cPanel ?
Editing the DNS zone in Cpanel is a pretty straight-forward process. Generally, Cpanel provides you with the options (A, CNAME, MX record) to record your data but you can always use different record options.
Comprehensive Guide to Add DNS Zone in cPanel
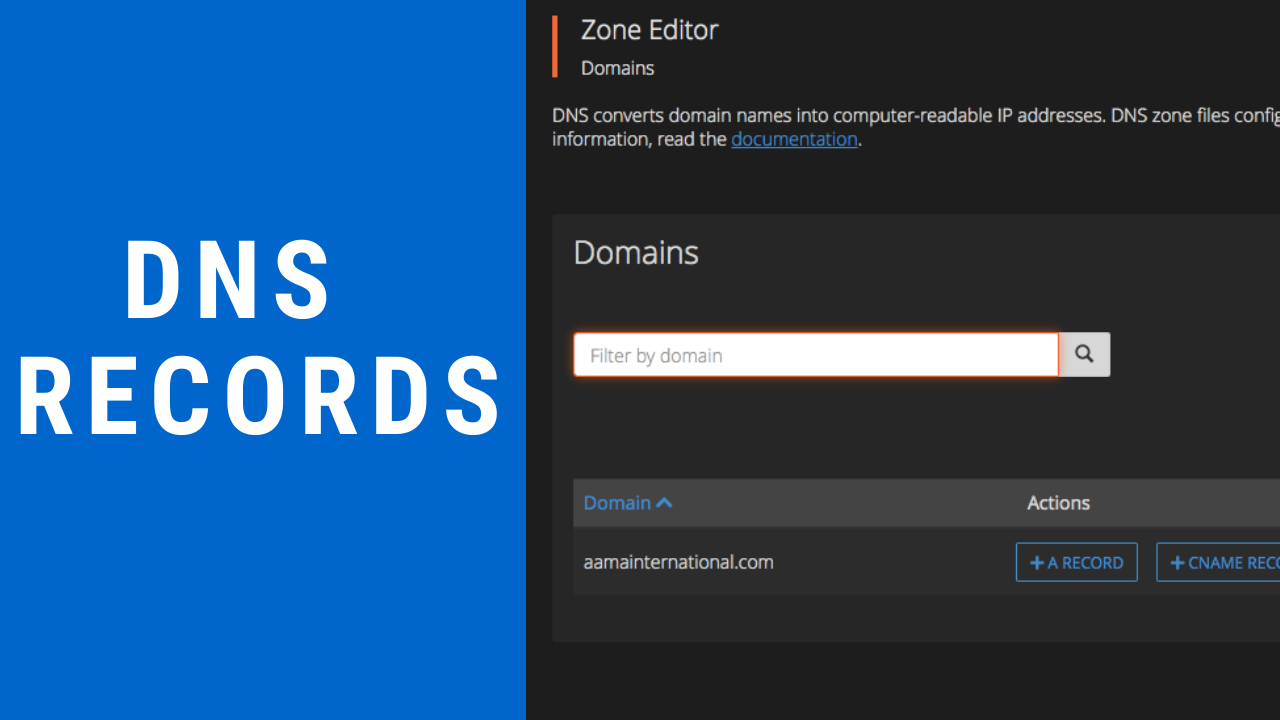
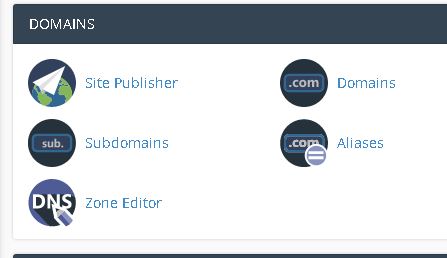
If you need to add a record through the cPanel you will want to search for and click on “Zone Editor” through the cPanel interface.
Once in the zone editor, you will have the option to add records. These records can be A, CNAME and MX records but you can have any type of record as you like. You can find them next to the plus sign under the action panel.
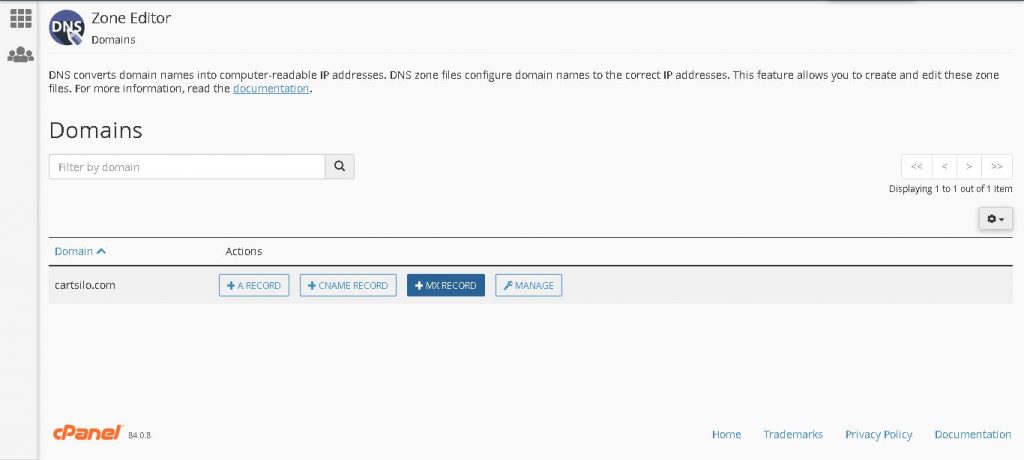
You can add any record you like, in this blog we will be learning about MX records. Then click on the MX button. After clicking on the MX button a small dialogue box will appear.

You will need to enter priority which is basically integers(10,20,50, etc) and in the destination field, you will be required to enter a fully qualified domain name. Then click on the add an MX record to complete the process.
You just add DNS Zone in cPanel on your own.
For any assistance, feel free to contact us. we also provide different cloud-based services like domain registration, web hosting, email hosting, and other CRM tools. Let us know if you need any help.


One thought on “How to add DNS Zone in cPanel ?”